Showing posts with label Position-it. Show all posts

Tuesday, March 14, 2017

Stencils and brushes and quick cards!!

We received our shipment of the ClarityStamp Stencil Brushes and i had a chance to play on Saturday.

Watched a couple of videos (I'll link below) and thought I was ready to whip off some lovely stencil cards.

Ooops, I was mistaken, there was a bit of a learning curve.

Here are the videos I watched on the brushes:


Seems easy enough, right?

Well it is and it isn't. I picked out a simple stencil from Creative Expressions and used ink colors I had open, pear, yellow and Mediterranean blue on white card stock. I did not get the desired results. Here's a picture: 

Pretty awful, right? Even tried it again thinking it was my blending ability ... nope just as bad.

So I took a step back and thought, what colors do I love? One of my favorite color combinations is turquoise and brown. So I used those colors and a simple 5 x 5 inch pre-packaged card and layered it with the two colors. Here's a step by step pictorial:


Luckily, I chose right off to put my sentiment stamp on my Position-It. And if I hadn't you can see on the first hit of ink to paper, it was not good coverage. I imagine because of the space this script takes up, leaves room for an imperfect ink-to-paper hit. I went over the "Thanks" 4 times to get nice saturation.

But isn't that a lovely card?

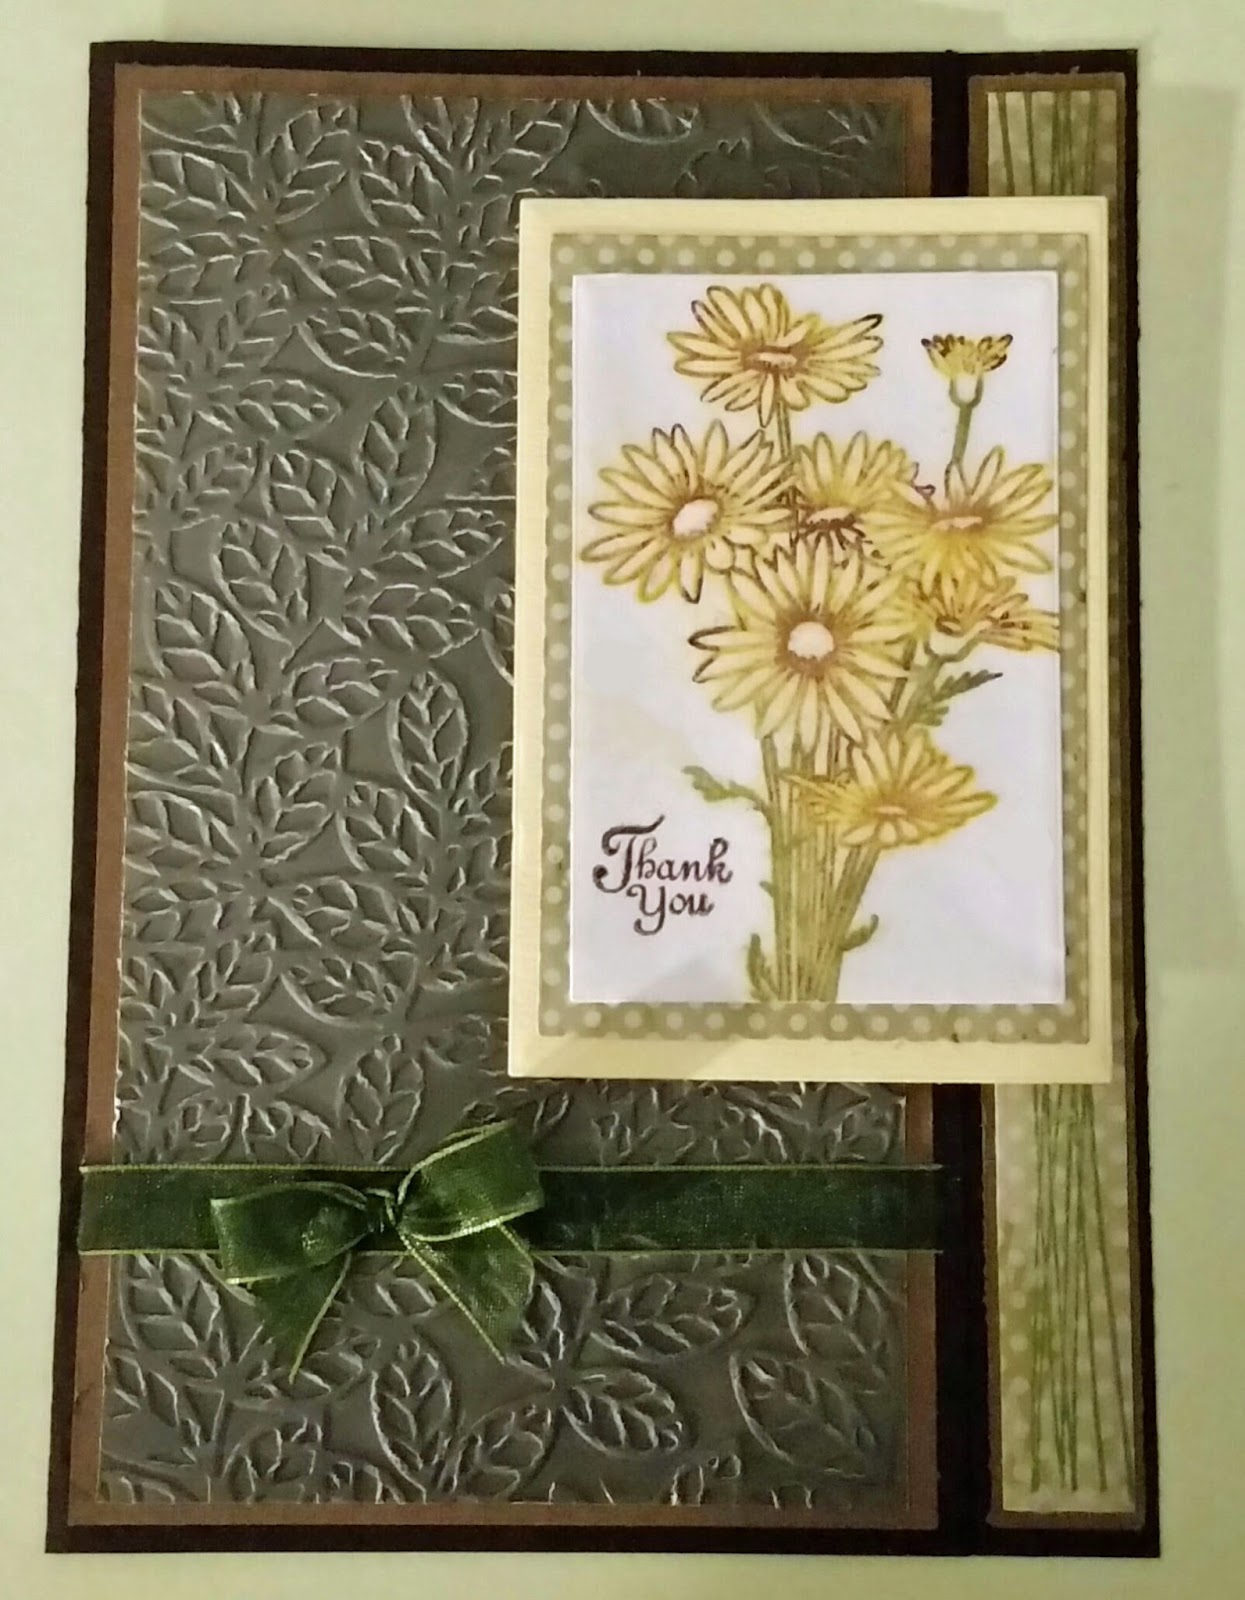
I used a simple multi-frame die from Marianne Designs (one of my favorites for its simplicity and size) and the 4-pack of Romak card stock with envelopes. Whip out 4 of these with a variety of the sentiments from the Creative Expressions "Stylish Script" stamp set and you've got a really nice set of cards for any time you need a card quick!


My next play session will be on mixed media as I have a card class scheduled and I don't even have a card done yet. Stay tuned for more fun with paper crafting!!

Until next time,

Jenn

Products used can all be purchased at www.ecstasycrafts.com

Marianne multi frame square (CR1332).
Creative Expressions Stylish Script stamp set (CEC820) 
ClarityStamp Stencil Brush (ACCBR30006) 
Creative Expressions stencil (Mask)

Wednesday, February 15, 2017

A whole new world of stamping

I'll stop the stamp cards soon, I promise!! But this Position-It has opened a whole new area for me, I'm just itching to play. And truth be told, I still have a few more stamp-focused cards coming your way so bear with me.

In playing with the stamping tool and a set of Frog's Whiskers stamps that is the filled in and outline versions that match up, it opens a new world to me!!

I first saw this technique when I watched the Cathie Allan video on the Position-It and we had a stamp here that seemed like it would work perfectly with this technique.

Here is the Cathie Allan video:


About 4 minutes in she starts this layering technique.

So I tried it today. Here is my picture tutorial


Starting with your lightest color, and make sure your paper surface is taped down. I use 3M extra strong post-it notes they have sticky all the way along and it doesn't remove any paper when you are finished.


Because you can ink and restamp, we can layer many, many times. So I applied various shades of blues and even purples.


building layer by layer adding different shades of blues and purples


adding a bit of lilac and  white to the center of the stamp


The final stage is lining up the outline layer of the stamp set and stamping down the outline. Easy enough to do really, especially when the stamp has definitive patterns to line up.


Here are the two stamps from Frog's Whiskers


Don't forget, I am going to have a little give-away ... post a comment on any blog in the month of February and your name will be entered into a draw to receive this combination of Cosmic Shimmer Pixie Powders used in the card on my blog February 13. Comment on each blog to increase your entries. Only one comment per blog but you can comment on any and every blog entry in February (including blogs posted earlier in the month).


Until next time,


Jenn

products used:

Frog's Whiskers Hydrangea J802 & J805 and carious pigment inks. 


Saturday, February 11, 2017

Tools you need to get the job done!

So many lessons, so little time.

To help speed up the learning process, I'll share with you some of the lessons I've learned along the way. 

Today on What I've Learned So Far: The tools you need to successfully get the job done. In this particular occasion, I'm referring to the use of the restamping tools on the market. I know, like you, I thought there was no need in my paper crafting for one of those expensive Stamping Tools.

But I'll tell you, once you use one and see the benefits, the financial outlay is secondary. 

First up is the obvious ability to stamp on the exact same spot as many times as you need. Now in playing with different paints and watercolors, I have a whole new respect for this concept. 


I made this grunge-type card with Cosmic Shimmer Pixie Powders (which was another product I saw no merit in until I started playing with them .... but I'll get into the Pixie Powders more at another time) and a wood-mounted rubber stamp I had. The Position-It Ultimate Stamping Tool, sold by Ecstasy Crafts, has the ability to stamp off the tool's platform and use a "sub-positioner" to use with wood mounted rubber stamps. This particular card needed that butterfly re-stamped seven times, yes SEVEN times! Never before would that have been possible. Nor is it possible with any other stamping tool on the market, as far as I know (the wood-mounted, restamping ability).


Same re-stamping became painfully obvious when I used the pixie powders on glossy card stock and stamped just using the "Stamping Buddy" by Nellie Snellen ... the stamping tool that I *thought* was all I needed and I'll give it high praise for its contribution to my stamping progression. But it is extremely difficult to re-stamp with it. Case in point, I create this funky background and line up my stamps with the Stamping Buddy and ink up with a nice black pigment ink only to be let down with the coverage. I had to redo my background and used the Position-It and stamped the black 3 times to get complete coverage.

My days of feeling cocky with my stamping ability are over!! I'm not taking chances any longer.

A secondary little benefit to these re-stamping tools is you can relax about the pressure you put on your stamp. You know we have one shot at the perfect stamp application, so you lay your body weight on the stamp to make sure every square inch has completely touched the surface of your paper. 

And in doing this we over-stamp. Cling stamps are smooshed and the lines become blurry and thick, or with rubber stamps the outer edge is transferred to your project because we rock the stamp back and forth to make sure there is complete coverage.

I can now relax ... "oh I missed a corner?" "No problem, I'll just re-stamp!" ... how liberating!!

Until next time,

Jenn

Position-It Ultimate Stamping Tool is available at Ecstasy Crafts.
Stamping Buddy by Nellie Snellen is available at Ecstasy Crafts
Cosmic Shimmer Pixie Powder is available at Ecstasy Crafts


Thursday, January 26, 2017

Simple stamp coloring

Since everyone and their sister has come out with a stamping device, let's get some stamping fun started. We use the Position-It here and I can attest to the merits of this stamping system.

I have always loved adding stamps to my cards. But I would always stick with simple ones because I wasn't comfortable coloring them in. I'm still not, actually. But now with these stamping positioning devices, you can take advantage of layering up your stamp. 

Starting with the lightest color, I inked up what would be yellow (in this case). I then pulled the color into the stamp to fill in the petals.


I added another color yellow, a bit deeper and stamped to give it a bit of an outline.


Next I found the little leaves and a few stems and inked them a mid-tone green and pulled that color in. Then outlined with a darker green.


I did the browns of the centers and the basket then pulled that into the basket. I used a bit of the yellow to give it a bit of dimension. And if you look at this picture, most people probably would have given up on this one because the browns are a bit smooshy. But I can't stress enough how patience is THE most important aspect of working with any inks!


Then I did a really light cover of jet black to give it outline. You can certainly omit that step.


And now I have a fabulous sunflower to add to a card. I did another sunflower at home the other night with a card sample, I've posted that here to give you an idea. Both of these stamps are from Frog's Whiskers.

Until next time,

Jenn